OwnPlot Setup
OwnPlot is the software we have developed to easily visualize data. Here we will show you how to install and use it.
Requirements
Before you start, make sure you meet the requirements below.
Requirements
- Have your VSCode Environment already setup
- Have your first PWM example uploaded.
- Have an USB-C cable ready
- Have a SPIN board ready and connected to your computer (stand-alone or embedded on a TWIST)
- Have an internet connection up and running
Installing OwnPlot
Choose your system and follow the installation procedure.
Step 1 - Download OwnPlot
Releases
All OwnPlot releases can be downloaded on github.
Download the file OwnPlot.Setup.0.6.1.exe
This works with Intel & Apple silicon
Download the file OwnPlot-0.6.1-universal.dmg
Download the file OwnPlot_0.6.1_amd64.deb
Download the file OwnPlot-0.6.1.x86_64.rpm
Download the file OwnPlot-0.6.1.AppImage
Step 2 - Install OwnPlot
- Launch the executable OwnPlot.Setup.0.6.1.exe
- The app will automatically install in the
User\AppData\Local\Programs\OwnPlotfolder
Compatibility
This works with Intel & Apple silicon
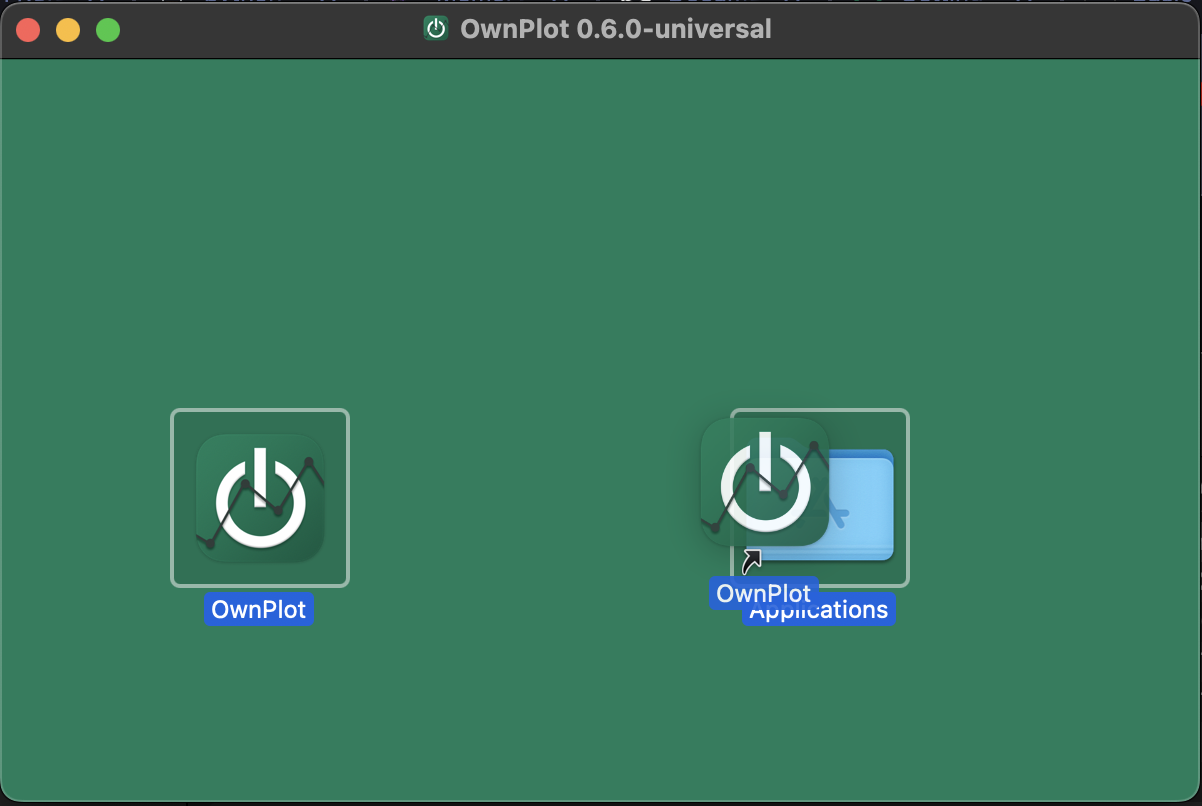
- Launch the disk image OwnPlot-0.6.1-universal.dmg
- Drag and drop OwnPlot into your Applications folder

Warning
This install has not been tested yet
- Open a terminal
- Install the package
- Right-click on the AppImage file
- Check the button to allow it to run as a program
Step 3 - Run OwnPlot
- OwnPlot should launch itself right after the installation has been completed.
- OwnPlot should be available from the start menu
Launch OwnPlot from your Application folder or the LaunchPad
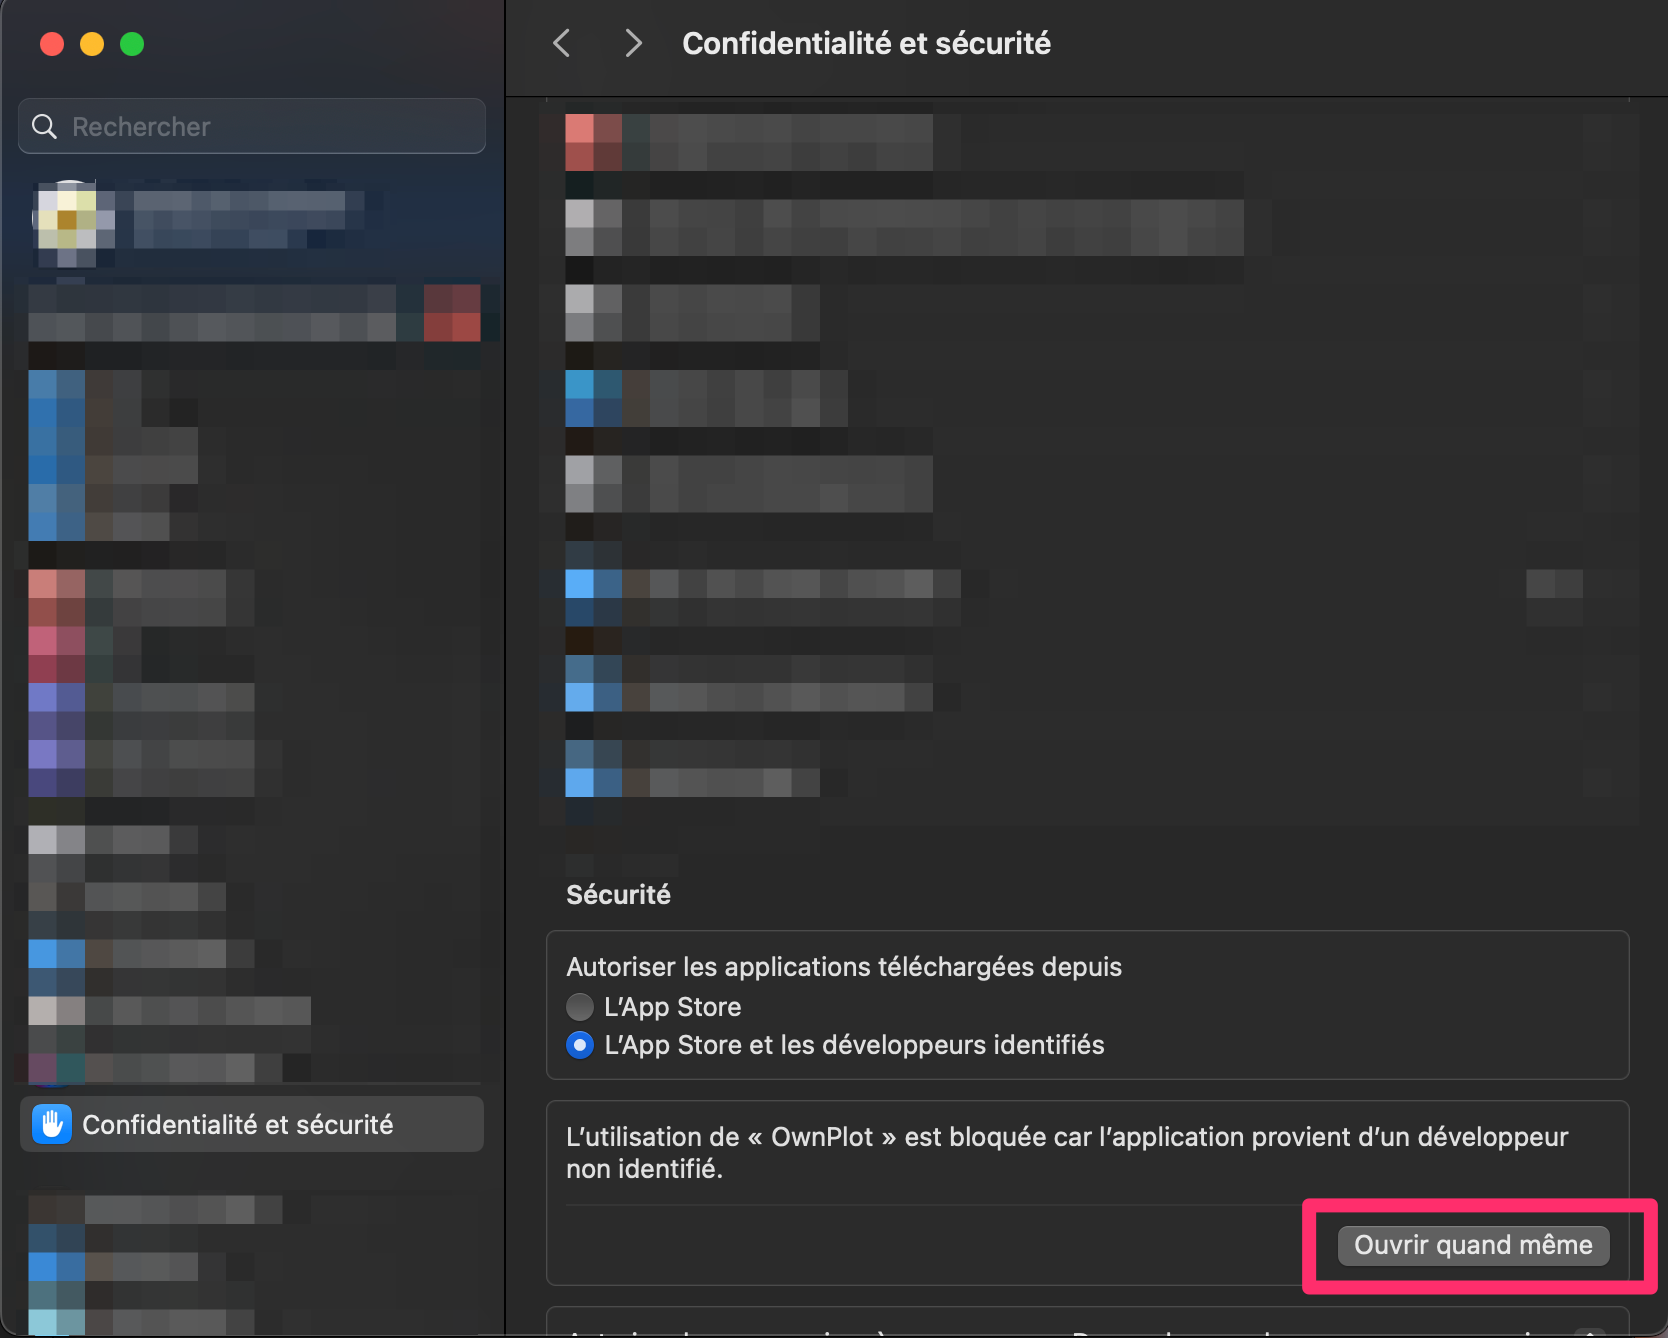
If you have trouble running the app for the first time
- If you get this:

- Open System Preferences
- Go to Security & Privacy Tab
- Allow OwnPlot to run by clicking the button "Allow"

Type ownplot in the terminal.
Type ownplot in the terminal.
Double-click on the AppImage file